Navigating the Capture Editor
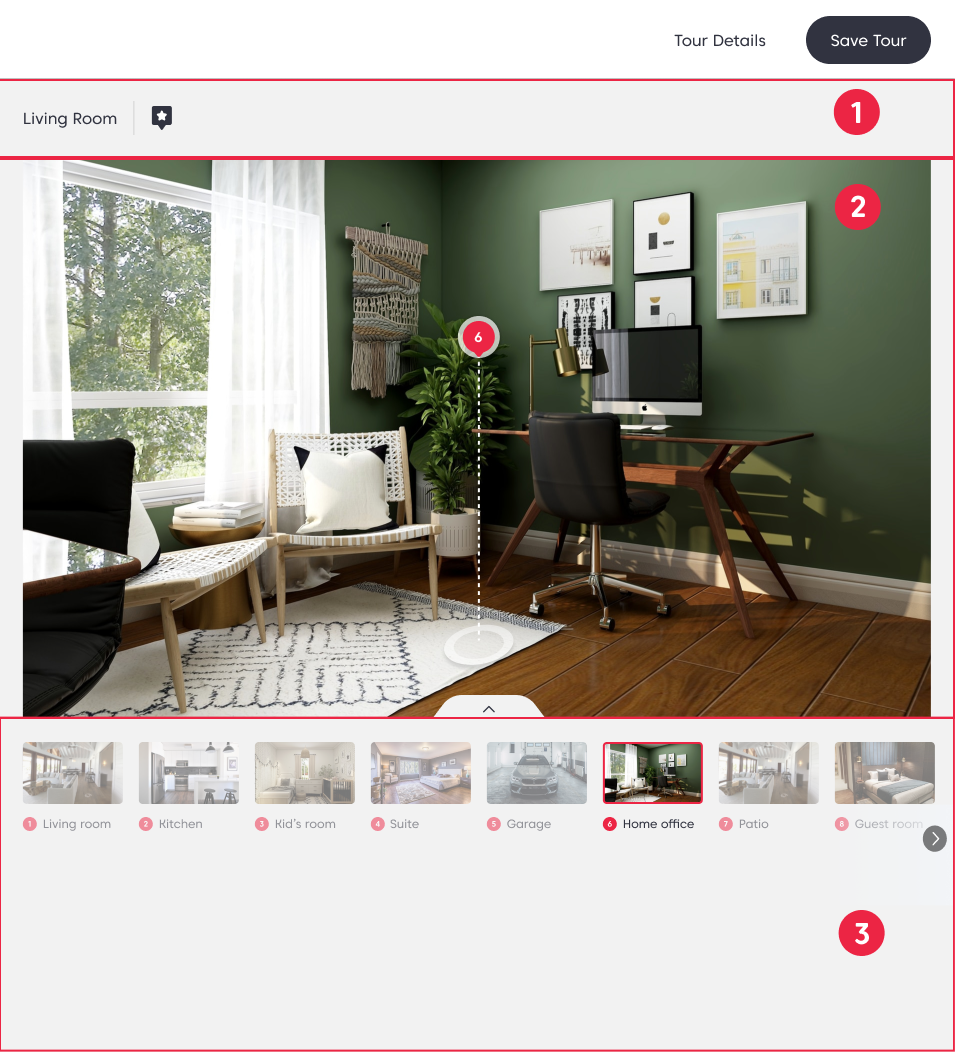
The Capture Editor is horizontally split into three sections:
- Header: Adjust the name of the scene or select the opening view of your tour.
- 360 Image Viewer: Changes to the image are available for preview.
- Thumbnail Gallery: All your Capture(s) are listed and can be rearranged.
Editing the Capture(s)
Use the Editor to optimize the Capture(s) of your Tour. Start by selecting the image you'd like to edit from the thumbnail gallery. Use the toolbox to edit your images.

The toolbox has the following editing options:
- Brightness
- Contrast
- Gamma
- Saturation
- Vibrance
- Temperature
- Blur
- To view the toolbox click on the Up Arrow
 located above the thumbnail gallery.
 - Click the editing option you want to adjust and it will bring up a slider.
- Drag the slider to achieve the desired effect.
- Hit Apply to close the slider and save your changes.

- Resetting the adjustments can be done with the Undo button
 in the toolbox. You can also quickly compare your adjustments with the Hide/Unhide Filter button on the far right.
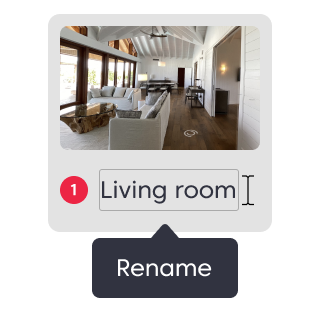
Renaming the Capture
- Select the image you would like to rename from the thumbnail gallery.
- Click on the name in the header or below the thumbnail image and enter the new name.
Selecting Your Opening Point
The opening point will set the first impression when visitors first access your 3D Tour. To set your opening point, select the Capture from the Thumbnail Gallery and click the Star icon  in the header.
You can fine-tune and rotate the Capture by using the Calibrator option  in the toolbox. To view the toolbox click on the arrow up above the thumbnail gallery.
Click the Calibrator and drag the slider to rotate the image. Hit Apply to close the slider.